Navigating Node.js Versions: Exploring nvm and Volta 💻
nvm and Volta for Developers

Software Engineer | Java | Spring | MSc. in Big Data Analytics | Salesforce IAM Architect | IAM Expert | AWS SAA | AWS DVA | Hashicorp Terraform Certified
Introduction
If you go to the official Node.js website it will tell you that the easiest way to install Node.js and npm(Node Package Manager) is to download the setup file offered by their website and install it. But the issue with directly installing the setup is that, if you are working on a project that was created using a different Node.js version, then you will get errors because the versions are not compatible. To solve the issues related to Node.js versions(hence npm versions) we can simply use a tool that helps you to manage Node.js versions. nvm(Node Version Manager) and Volta are the two most popular choices among developers when it comes to managing Node.js versions. In this article, we will look at how to install them and use them for your next Node.js/React/Angular project.
📦 nvm(Node Version Manager)
Most users use nvm as their Node.js version managing tool since it is easy to use. Let's look at how you can install nvm on your machine.
🛠️ Install nvm on MacOS
To install nvm on Mac you need to have Homebrew installed on it. To install Homebrew you can go to the official website and follow the instructions mentioned there. Or you can simply follow the following instructions.
Press ⌘ + Space and type "terminal" to open a new terminal in Mac.
Then type the following to install brew package manager.
/bin/bash -c "$(curl -fsSL https://raw.githubusercontent.com/Homebrew/install/HEAD/install.sh)"After it is installed, there will be two more commands suggested by
brewfor you to run.echo 'eval "$(/opt/homebrew/bin/brew shellenv)"' >> /Users/<username>/.zprofile eval "$(/opt/homebrew/bin/brew shellenv)"After completing the above, check whether the
brewis installed or not by typingbrewin the terminal.
Now let's install nvm. To install nvm you can follow the below given instructions.
First, make sure there are no previous Node.js versions or dependencies in your system.
  brew uninstall --ignore-dependencies node
  brew uninstall --force node
Install nvm using
brew.brew install nvmCreate a new directory in the root with the following command.
sudo mkdir ~/.nvmOpen the
~/.zprofileby typingvim ~/.zprofileand add the following two lines.export NVM_DIR=~/.nvm source $(brew --prefix nvm)/nvm.shAfter that, type the following to source the
~/.zprofilefile again to the terminal.source ~/.zprofileTo check whether the
nvmis correctly installed, typenvmin the terminal.
🛠️ Install nvm on Linux
Run one of the following commands to clone the nvm repository to the local ~/.nvm directory.
curl -o- https://raw.githubusercontent.com/nvm-sh/nvm/v0.39.7/install.sh | bash

wget -qO- https://raw.githubusercontent.com/nvm-sh/nvm/v0.39.7/install.sh | bash
After that, open ~/.bash_profile and add the following.
export NVM_DIR="$([ -z "${XDG_CONFIG_HOME-}" ] && printf %s "${HOME}/.nvm" || printf %s "${XDG_CONFIG_HOME}/nvm")"
[ -s "$NVM_DIR/nvm.sh" ] && \. "$NVM_DIR/nvm.sh"
Finally, run source ~/.bash_profile and source ~/.bashrc to source the configuration files. After all the steps, check whether you have installed nvm correctly by typing nvm in the terminal.
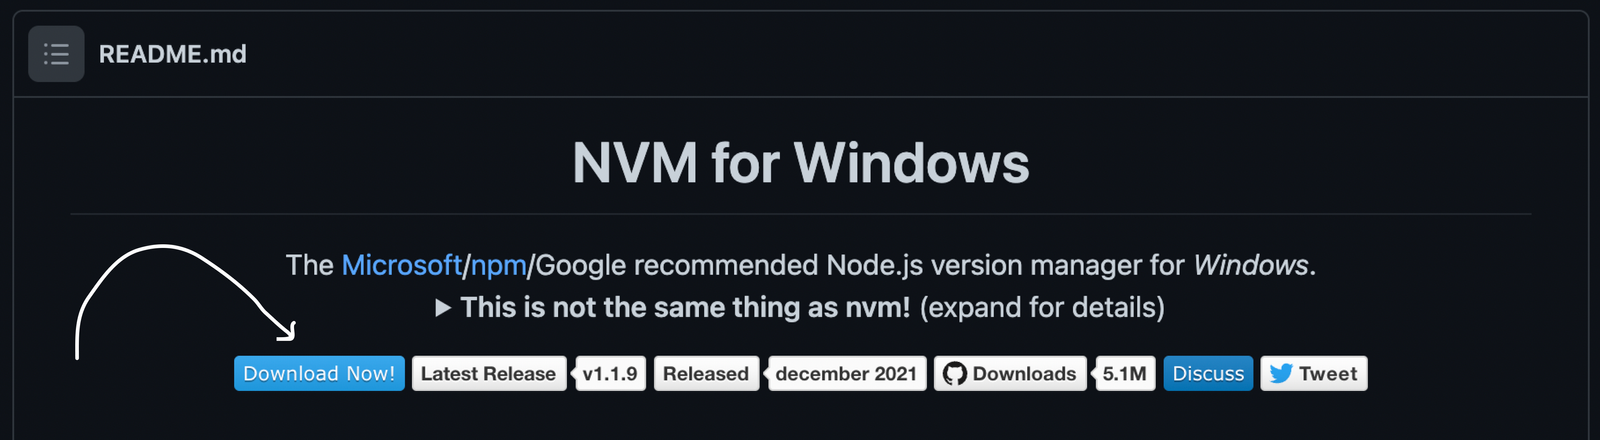
🛠️ Install nvm on Windows
To install nvm on Windows, go to nvm-windows repository and click on Download Now!
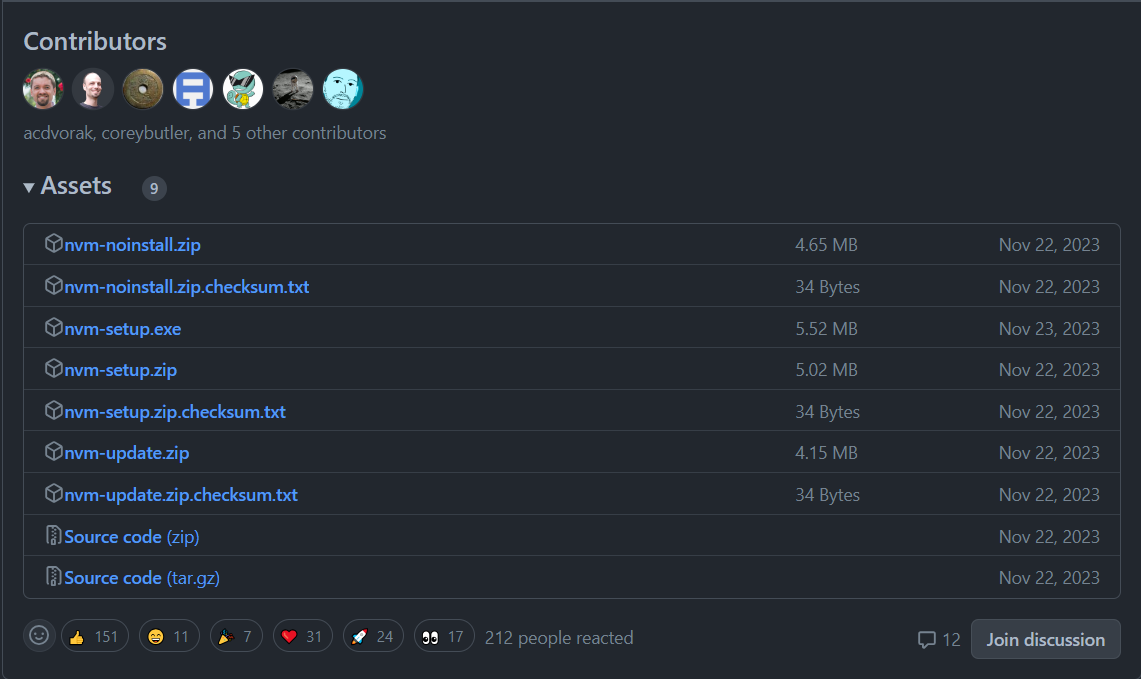
After that, click on nvm-setup.exe file to download the .exe file.
Complete the installation wizard with the downloaded file and check whether nvm is successfully installed by typing nvm -v in the command line tool.
🚀 Useful nvm Commands
Following are the most common nvm commands that you should know when using nvm.
To list down available Node.js versions →
nvm list availableTo install a specific Node.js version →
nvm install <node_version>(e.g.nvm install 16.16.0)To install the latest Node.js version →
nvm install latestTo install the LTS Node.js version →
nvm install --ltsTo use an installed Node.js version →
nvm use <node_version>(e.g.nvm use 16.16.0)To see the installed Node.js versions →
nvm lsSetting the default Node.js version →
nvm alias default <node_version>(e.g.nvm alias default 16.16.0)Find the current default Node.js version →
nvm currentUninstall a Node.js version →
nvm uninstall <node_version>(e.g.nvm uninstall 16.16.0)To see the nvm version →
nvm -v
⚡ Volta
Volta is another tool that you can use instead of nvm to manage Node.js versions. Let's check how you can install it on MacOS, Linux, and Windows.
🛠️ Install Volta on MacOS and Linux
To install Volta on Mac and Linux, you can simply run the following command.
curl https://get.volta.sh | bash
After that, open ~/.zshrc on Mac or ~/.bash_profile on Linux and add the following.
export VOLTA_HOME=$HOME/.volta
export PATH="$VOLTA_HOME/bin:$PATH"
Then type, volta -v to check whether it is properly installed or not.
🛠️ Install Volta on Windows
Installing Volta on Windows is quite easy. You just have to go to https://docs.volta.sh/guide/getting-started and click on download and run the Windows installer option there. After clicking on that, the installer will be downloaded for you to install it using the installation wizard. After the installation verify whether you have installed Volta by typing volta -v in the command line tool.
🚀 Useful Volta Commands
Following are the most commonly used Volta commands you will be using if you prefer Volta over nvm.
To check the Volta version →
volta -vTo install a Node.js version →
volta install node@version(e.g.volta install node@16)To switch to a different node version →
volta install node@version(e.g.volta install node@18)To bind a node version to a project →
volta pin node@version(e.g.volta pin node@16)
This volta pin node@version command will create something like the following in the package.json file of your project.
"volta":{
    "node":"16.18.1"
}
If another user is using the project with above configuration, then the above Node.js version will be downloaded to his local machine and it will be set as the project Node.js version.


